Exploring the world of vintage Stihl equipment‚ enthusiasts seek comprehensive guides to keep machines running smoothly․ This section outlines the relevance of accessing free PDF manuals‚ highlighting the benefits for maintenance‚ repair‚ and historical preservation․ It also supports DIY enthusiasts․!
1․1 Purpose and Scope
For collectors‚ repair technicians‚ and hobbyists‚ locating an old Stihl service manual in PDF format can be a pivotal resource․ The purpose of this guide is to outline the practical steps and considerations involved in obtaining such documents without cost‚ while respecting the historical value of the equipment․ By focusing on free downloads‚ the article aims to empower users to restore and maintain legacy machines‚ ensuring that the knowledge embedded in these manuals remains accessible for future generations․
The scope covers the identification of relevant models‚ the types of information typically found within the manuals—such as schematics‚ troubleshooting charts‚ and component specifications—and the methods for navigating online repositories that host archival PDFs․ It also touches on the importance of preserving the integrity of the original documents‚ encouraging readers to use reputable sources and to verify the authenticity of the files they acquire․
Ultimately‚ this section serves as a foundation for the subsequent discussion‚ setting the stage for a deeper exploration of the resources‚ legal aspects‚ and best practices associated with free PDF downloads of old Stihl service manuals․
Additionally‚ the guide encourages readers to document their own repair experiences‚ creating a living archive that benefits future users․ By sharing photos‚ step‑by‑step notes‚ enthusiasts a collective knowledge base that enhances the longevity usability of classic Stihl machines․!!

Why Stihl Service Manuals Matter
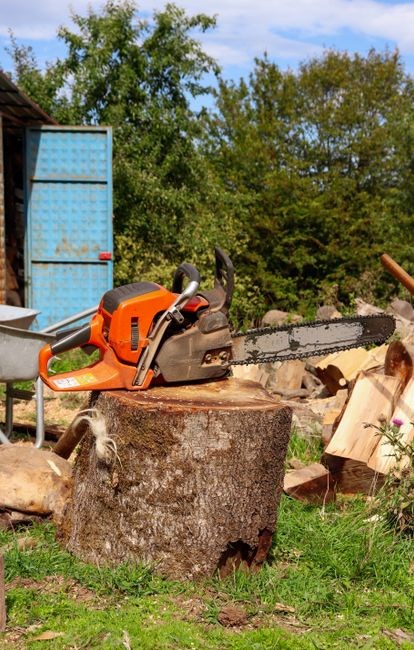
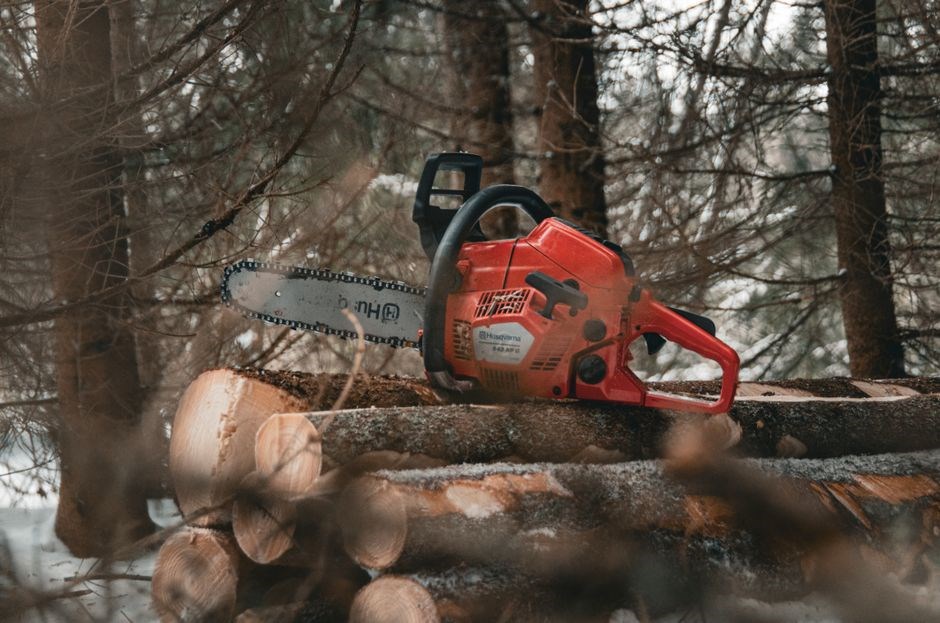
These manuals provide essential troubleshooting‚ maintenance schedules‚ and safety guidelines‚ ensuring reliable operation and extending the life of vintage Stihl tools․ Accessing free PDFs preserves knowledge for hobbyists‚ technicians‚ and collectors alike!!!
2․1 Maintaining Equipment and Safety
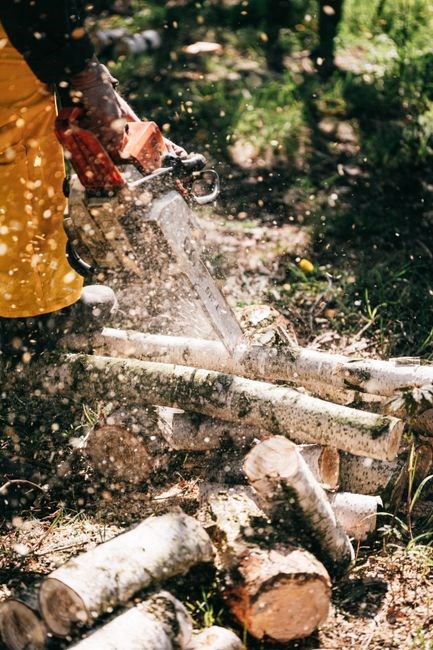
When working with older Stihl machines‚ the first step toward reliable performance is a thorough understanding of each component’s operational parameters and wear patterns․ Free PDF manuals serve as a roadmap for diagnosing common issues—misaligned chains‚ worn bearings‚ or electrical faults—without the need for costly diagnostics․ By following the step‑by‑step procedures outlined in the manual‚ technicians can perform routine maintenance such as oil changes‚ filter replacements‚ and chain tension adjustments with confidence․ Proper maintenance not only keeps the equipment running efficiently but also reduces the risk of accidental injury․ For example‚ the manual’s safety checklist highlights the importance of checking the guard guards‚ ensuring the chain is properly lubricated‚ and verifying that the electrical connections are secure before each use․ Ignoring these precautions can lead to catastrophic failures‚ especially in older models where components may have degraded over time․ Additionally‚ the PDF provides detailed torque specifications for bolts and fasteners‚ ensuring that repairs are performed to manufacturer standards․ This precision prevents over‑tightening and under‑tightening‚ can harddamage threads cause parts to loosen during operation․ Overall‚ a free PDF of an old Stihl service manual empowers users to maintain equipment‚ downtime and safeguarding against hazards․
Legal Framework for Downloading PDFs
Understanding copyright laws‚ fair‑use provisions‚ and licensing agreements is essential before downloading service manuals․ Users should verify the document is provided by the manufacturer under a free‑distribution policy to avoid legal risks․Check local laws!
3․1 Copyright and Fair Use
When seeking free PDFs of legacy Stihl manuals‚ the legal landscape hinges on copyright status and the doctrine of fair use․ Most original manuals are protected for 70 years after the author’s death or 95 years from publication‚ depending on the jurisdiction․ If the manual falls outside these terms‚ it may be in the public domain‚ allowing unrestricted distribution․ However‚ many older manuals still reside under active copyright‚ and downloading them without permission can expose users to infringement claims․
Under the fair‑use doctrine‚ the transformation of the original work is a key consideration․ If the manual is used to illustrate a repair technique‚ the user is adding new meaning and context‚ which courts often view favorably․ However‚ the amount of the original text used must be limited; typically‚ a few pages or a single diagram may be permissible‚ but reproducing entire sections can tip the balance toward infringement․ more likely to be protected from commercial resale․ The market effect test assesses whether the copy could replace the original in the marketplace․ If the manual is no longer sold or is out of print‚ the likelihood of a market impact is lower‚ strengthening a fair‑use defense․ Nonetheless‚ the safest practice remains to seek permission from the rights holder or to rely on public‑domain resources․ When in doubt‚ consult a qualified intellectual‑property attorney to evaluate the specific circumstances and ensure compliance with applicable laws․

Official Stihl Resources
Stihl’s own portal offers a curated library of manuals‚ including legacy PDFs․ Registered users can request archives‚ and some older models are freely downloadable․ Always verify the version and confirm the site’s authenticity before accessing documents․ All rights!!!
Stihl’s official archive hosts a comprehensive collection of service manuals spanning decades of equipment evolution․ The repository is organized by model series‚ year‚ and region‚ enabling users to locate the exact document needed for maintenance or repair tasks․ Each entry includes a concise description‚ PDF download link‚ and‚ where applicable‚ a brief summary of key updates or revisions․ Access typically requires a valid Stihl account; however‚ certain legacy manuals are freely available to the public‚ reflecting the company’s commitment to customer support and historical preservation․ To navigate the archive‚ users can employ the search bar‚ filter by product type‚ or browse alphabetically․ Stihl also provides a “request” feature‚ allowing customers to submit a formal request for manuals that are not yet digitized․ The archive includes revision histories for each manual‚ allowing changes and specifications across model years․ Users can download folders for offline use‚ in internet․ Stihl’s portal ensures all documents are compliant with safety standards․ The archive serves as a resource‚ offering guides for technicians․ Keeping documents accessible‚ Stihl empowers maintain equipment longevity reduce downtime performance today!! These manuals are indispensable for ensuring compliance․today

Community-Driven Sites
Community-driven platforms host usershared Stihl manuals‚ offering to PDFs for older models․ Enthusiasts upload scans‚ share links and collaborate on troubleshooting․ These sites often provide forums for discussion‚ tips‚ and updates‚ ensuring that even legacy equipment remains serviceable․
5․1 Popular Forums and Downloads
When searching for a free PDF of an older Stihl service manual‚ community forums are the most reliable source․ Sites like StihlForum;com and WoodworkingForums․org host sections where users share scanned pages‚ PDF links‚ and repair discussions for specific models․ Threads often contain step‑by‑step guides‚ troubleshooting tips‚ and vetted download links․ Another hub is RepairManuals․net‚ where members upload entire manuals for free after verifying copyright status․ If a link breaks‚ others quickly replace it‚ ensuring continuous access․ Many forums also provide a “resource library” that categorizes PDFs by model number‚ year‚ and function‚ making it easier to locate the exact manual needed․ For a more structured approach‚ ManualsLib․com hosts a Stihl section that aggregates PDFs from multiple contributors‚ often with annotations explaining ambiguous sections․ Users can request missing pages or entire manuals‚ and the community collaborates to fill gaps․ These manuals cover modelsinclude schematics‚ ensuring technicians have needed! Finally‚ WoodshopForums․com “Downloads” tab offers older Stihl manuals in PDF format․ Engaging with these platforms keeps hobbyists and professionals informed equipment runs smoothly․

Alternative Acquisition Methods
Beyond forums‚ older Stihl manuals can be found in libraries‚ university archives‚ or tool shops․ Many institutions digitize collections‚ offering PDFs via interlibrary loans․ Collectors also trade scans through email or groups‚ keeping rare editions accessible․
6․1 Scanning‚ Libraries‚ and Exchanges
For those seeking vintage Stihl service manuals‚ several practical avenues exist beyond direct downloads․ One common method involves scanning physical copies from personal collections or local libraries․ These scans are accompanied by an index allowing users to locate sections very quickly․ Additionally‚ many libraries provide a QR code link that directs to a version for access․
University archives and technical institutes frequently maintain extensive collections of forestry equipment manuals․ These institutions typically hold the rights to digitize and share manuals for educational purposes‚ ensuring compliance with copyright regulations․
Another avenue is the exchange network among hobbyists․ Online forums and social media groups dedicated to Stihl enthusiasts often host “scan‑share” threads where members upload PDFs of manuals they have digitized․ In many cases‚ the shared files are hosted on secure‚ private servers to reduce the risk of public distribution․
When using any of these methods‚ it is essential to verify the legitimacy of the source․ Check that the library or institution has the proper licensing to distribute the manual․ Additionally‚ always keep a backup of the original scanned file in a secure location‚ as it may be required for future reference or to comply with local regulations․

Safe Downloading Practices
Secure methods include verifying source‚ using antivirus‚ checking file integrity‚ and respecting copyright․ Avoid unknown sites‚ use official archives‚ and confirm file size matches expected․ Keep backups and update software․ Always read terms before download․ Use HTTPS and verify checksums․ before!!

7․1 Security Checks and Legal Compliance
When accessing legacy Stihl service manuals‚ the first step is to verify the source․ Prefer official archives or trusted community sites that use HTTPS and provide a checksum or a clear license statement․ Download the PDF‚ run a virus scan‚ and compare the hash to the publisher’s value if available․ If no hash exists‚ use reputable antivirus software to ensure the file is clean․
Legal compliance is essential․ Stihl’s manuals are protected by copyright‚ and unauthorized distribution can lead to penalties․ Check the site’s terms of service and any licensing information․ Many archives offer the documents under a Creative Commons license or a personal‑use clause․ If the manual is in the public domain‚ it may be shared freely; otherwise‚ limit use to personal‚ non‑commercial purposes and avoid public sharing․
To stay compliant‚ keep a clear audit trail: record the source URL‚ download date‚ and checksum․ Store the file in a secure‚ access‑controlled location and restrict sharing to trusted contacts․ If you need to share the manual for repair work‚ consider converting the PDF to a protected format or using a view‑only link that prevents downloading․ By combining thorough security checks with strict adherence to copyright regulations‚ you can safely enjoy the benefits of free Stihl service manuals without exposing yourself to legal or cyber risks․
Respect the creator’s rights and use the manual for personal purposes only․ Follow these guidelines to protect your equipment and enjoy the knowledge